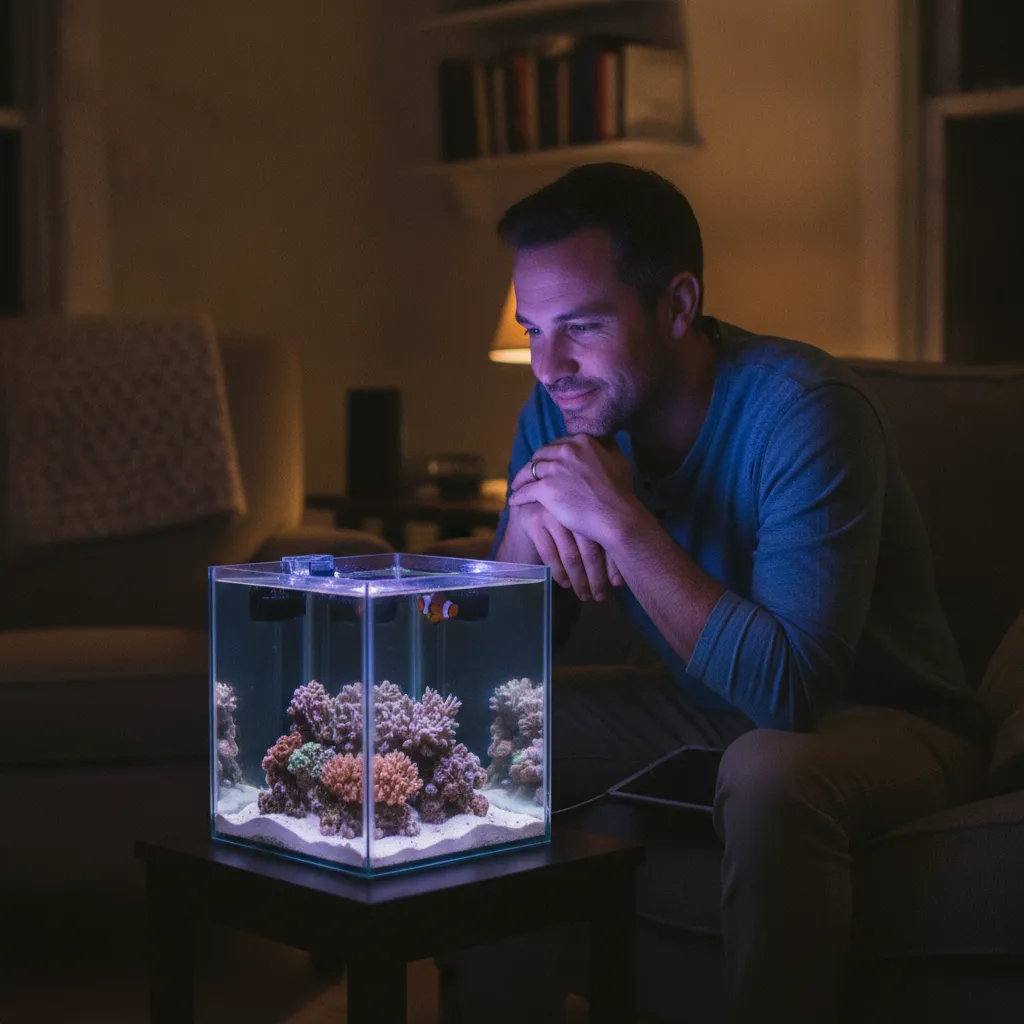
Complete 20-Gallon Reef Tank Setup and Equipment List
TL;DR: A complete 20-gallon reef tank setup requires six core pieces of equipment — a tank, lighting, a protein skimmer, a return pump, a heater, and an auto top-off — and skipping any one of them significantly raises the risk of a parameter crash in the first 90 days. A 20-gallon is the optimal starting size for new reefers because its water volume buffers against rapid parameter swings without the cost and complexity of larger systems. Cycling takes four to six weeks before any livestock should be added, and stocking order matters as much as the equipment list itself.
Why a 20-Gallon Reef Tank Is the Best Starting Point (And Where Most Beginners Go Wrong)
A 20-gallon reef tank gives you enough water volume to maintain stable parameters without the overwhelming cost of a 75 or 100-gallon system. Water chemistry swings faster in smaller tanks — a 5-gallon nano has almost no buffer — but a 20-gallon sits in the sweet spot where one missed top-off won’t kill everything overnight.
Most beginners go wrong before they ever buy a fish.
They watch YouTube builds with $3,000 setups, get intimidated, then either overspend on gear they don’t need or cut corners on the equipment that actually matters. The result is a tank that crashes in month two — and a hobby they quit.
The real problem isn’t money. It’s not knowing which equipment is critical versus which is optional for your stage.
This guide covers everything you need for a complete 20-gallon reef tank setup — every item is either essential or clearly labeled as optional, with a direct explanation of what happens if you skip it.
What Equipment Do You Actually Need for a 20-Gallon Reef Tank Setup?
A complete 20-gallon reef tank setup requires seven core categories of equipment. Nothing on this list is filler.
Here’s the full checklist with estimated costs and priority ratings:
| Equipment | Purpose | Skip It and… | Priority | Estimated Cost |
|---|---|---|---|---|
| Tank (20-gal) | Water volume and stability | No reef | Essential | $80–$200 |
| Lighting | Coral photosynthesis | Corals die within weeks | Essential | $100–$300 |
| Protein skimmer | Removes organic waste | Nutrient buildup, algae crashes | Essential | $60–$150 |
| Return pump / powerhead | Water circulation and oxygenation | Dead spots, low oxygen | Essential | $30–$80 |
| Heater (with controller) | Temperature stability | Temperature swings kill corals | Essential | $40–$100 |
| Auto Top-Off (ATO) | Replaces evaporated water | Salinity spikes between top-offs | Highly recommended | $50–$120 |
| Refractometer or salinity probe | Measures specific gravity | You’re guessing your salinity | Essential | $20–$60 |
A few important notes on this table:
All-in-one (AIO) tanks — like the Innovative Marine Nuvo or Waterbox AIO — bundle the tank, return pump, and built-in filtration chambers. For a first reef, these are worth the extra upfront cost. They reduce compatibility problems and remove three decisions at once.
Protein skimmers for 20-gallons are rated by manufacturers for larger tanks. A skimmer “rated for 50 gallons” is often appropriately sized for a 20-gallon reef with a moderate bioload. Don’t buy a skimmer rated exactly at 20 gallons — you’ll outgrow it faster than you think.
How Do You Choose the Right Lighting for a 20-Gallon Reef Without Overspending?
Lighting is the single most misunderstood purchase for new reef keepers. Buy too little and your corals starve for light. Buy too much and you trigger an algae bloom before your tank even cycles.
What corals actually need from light
Corals get energy through photosynthesis via symbiotic algae called zooxanthellae. Soft corals and LPS (large polyp stony) corals — the best choices for beginners — need moderate PAR levels, roughly 50–150 PAR at the substrate.
SPS (small polyp stony) corals demand higher PAR and far more stable water chemistry. Don’t plan for SPS on your first tank.
Lights that work for a 20-gallon reef
For a standard 20-gallon (24″ x 12″ footprint), these three lights are consistently recommended across the reef-keeping community:
- Kessil A160WE Tuna Blue — compact, powerful, great spectrum control (~$200)
- AI Prime 16HD — programmable, proven track record for mixed reef (~$220)
- Aqua Illumination Blade — bar-style, excellent spread for shallow tanks (~$170)
You don’t need a $500 light for a beginner reef. But you do need a light designed specifically for reef tanks — not freshwater planted lights, and never the “reef-capable” stickers on budget LED strips sold at big-box pet stores.
What to avoid
Avoid T5 fluorescent fixtures for a 20-gallon setup. They work well, but bulb replacement costs add up, and modern LEDs offer equivalent performance with better control and lower long-term cost.
Filtration, Flow, and Water Quality: The Life Support Systems Your Tank Can’t Live Without
Water quality is not one thing — it’s four things managed simultaneously: biological filtration, mechanical filtration, chemical filtration, and water flow. A 20-gallon reef tank needs all four working together.
Biological filtration
Live rock is your primary biological filter. Aim for roughly one pound of dry rock per gallon as a starting point — though quality matters more than quantity. Aquacultured live rock or dry rock seeded with bottled bacteria (like Fritz Turbo Start 900) establishes your nitrogen cycle faster and without introducing pests.
Mechanical and chemical filtration
Most AIO tanks include a filter sock or sponge insert. Change or clean it every three to five days — a dirty filter sock becomes a nitrate factory fast.
Add a small bag of activated carbon in your return chamber. Replace it monthly. Carbon removes discoloration and some dissolved organics that your skimmer misses.
Protein skimming
A protein skimmer pulls dissolved organic compounds out of the water column before they break down into ammonia and nitrate. For a 20-gallon reef with fish, this is not optional. A skimmer like the Aqua Gadget inTank Media Basket or a Reef Octopus 90-INT handles the job without taking up sump space you don’t have.
Water flow
Corals need flow to feed and expel waste. A single powerhead positioned to create a circular flow pattern works well in a 20-gallon. The Tunze Nano 6015 or Hydor Koralia Nano 240 both deliver appropriate flow (around 240–600 GPH) without blasting fragile frags off the rockwork.
Target a total turnover rate of 20–30x tank volume per hour when you combine your return pump and powerhead. For 20 gallons, that means 400–600 GPH total flow.
What Does a 20-Gallon Reef Tank Setup Cost — and How Do You Prioritize Your Budget?
Most beginners either underestimate the startup cost or blow their budget on gear they don’t need for months. Here’s what a realistic 20-gallon reef build actually costs across three budget levels.
| Budget Tier | Approach | Estimated Setup Cost | Best For |
|---|---|---|---|
| Starter ($400–$600) | AIO tank, mid-range LED, basic skimmer, no ATO yet | ~$500 | First-time reefers testing commitment |
| Mid-range ($700–$1,000) | AIO tank, quality LED, ATO, skimmer, controller | ~$850 | Committed beginners wanting fewer headaches |
| Full build ($1,100–$1,500) | Custom sump, premium light, dosing system, apex controller | ~$1,300 | Second tank or hobbyists ready to scale |
Prioritize in this order:
- Tank and stand (get this right — retrofitting is expensive)
- Lighting (corals die without it)
- Return pump and powerhead (flow is non-negotiable)
- Heater with a separate temperature controller
- Protein skimmer
- ATO (add this in month one if you can, month two at the latest)
- Test kits — API Master Saltwater Kit plus a separate alkalinity test as a minimum
One non-obvious insight: Most beginners spend too much on their first fish and too little on their first test kit. A $6 bottle of API Ammonia Test Solution tells you more about your tank’s survival odds than a $50 cleanup crew. Buy the test kit before you buy anything alive.
Your First 30 Days: Cycling, Stocking Order, and Avoiding the Most Common Beginner Mistakes
The first 30 days of a reef tank have nothing to do with corals or fish. They’re entirely about establishing your nitrogen cycle — the biological process where beneficial bacteria convert toxic ammonia into nitrite, then into relatively harmless nitrate.
Week 1–2: Start your cycle
Fill your tank with RODI water (not tap, not store-bought distilled — RODI water from a unit or purchased from your LFS). Mix to a specific gravity of 1.025–1.026 using a quality reef salt like Red Sea Coral Pro or Instant Ocean Reef Crystals. Add your dry rock and a source of ammonia to feed the cycle — either pure ammonia (like Dr. Tim’s Ammonium Chloride) or a small piece of raw shrimp.
Do not add fish yet.
Week 2–3: Test daily
Test ammonia, nitrite, and nitrate every day or two. You’re looking for ammonia and nitrite to spike, then crash to zero. That crash means your bacterial colonies are established. A bottled bacteria supplement — Fritz Turbo Start 900 is the most consistently recommended — can shorten this from six weeks to two.
Week 3–4: First livestock
Add your cleanup crew first. A small CUC (cleanup crew) of snails and hermit crabs establishes natural algae control before your nutrient load increases. Start with five to ten Nassarius snails, five Cerith snails, and three to five small hermit crabs for a 20-gallon.
Add your first fish only after ammonia and nitrite both read zero on two consecutive tests taken 24 hours apart.
The stocking order that works
- Cleanup crew (snails, hermit crabs)
- Hardy fish — a single Ocellaris Clownfish is the standard beginner choice for good reason
- Soft corals (Kenya Tree, Mushrooms, Zoanthids) — these tolerate parameter swings better than LPS
- LPS corals (Hammer, Torch, Frogspawn) — after your parameters have been stable for four to six weeks
- SPS corals — not in your first year
The mistake that crashes more first tanks than any equipment failure
Overfeeding.
A 20-gallon reef tank has very little margin for excess nutrients. Feed your fish once daily, only what they consume in two minutes. Remove any uneaten food immediately. More tanks crash from overfeeding than from bad equipment choices.
Following a consistent reef tank maintenance schedule from day one — covering feeding cadence, water change timing, and equipment checks — is one of the most effective ways to avoid the slow parameter creep that kills tanks in months two and three.
Frequently Asked Questions
Q: How long does it take to cycle a 20-gallon reef tank before adding corals?
A 20-gallon reef tank typically takes four to six weeks to complete a full nitrogen cycle from scratch. Using a bottled bacteria supplement like Fritz Turbo Start 900 can compress this to two to three weeks by seeding your rock with established bacterial colonies. Corals should only be added after ammonia and nitrite have both read zero on two consecutive tests taken 24 hours apart.
Q: Can I run a 20-gallon reef tank without a sump?
Yes — many successful 20-gallon reef tanks run without a sump. An all-in-one tank with rear filtration chambers handles biological, mechanical, and chemical filtration effectively at this tank size. A sump adds water volume and equipment space, which helps long-term, but it is not required to keep corals alive in a 20-gallon build.
Q: What is the best lighting for a 20-gallon reef tank?
For a standard 20-gallon reef (24″ x 12″ footprint), proven options include the AI Prime 16HD, the Kessil A160WE Tuna Blue, and the Aqua Illumination Blade bar light. All three deliver the PAR levels soft corals and LPS corals need (roughly 50–150 PAR at the substrate) without over-driving algae growth in a new tank. Avoid freshwater planted LEDs and budget “reef-capable” strips — they lack the blue spectrum corals depend on for zooxanthellae photosynthesis.
Q: How many fish can you keep in a 20-gallon reef tank?
Stick to two small fish maximum in a 20-gallon reef tank, introduced several weeks apart to allow your biological filtration to catch up. A bonded pair of Ocellaris Clownfish is the most reliable combination for this tank size. Adding a third fish significantly increases bioload, accelerates nitrate accumulation, and raises the risk of a parameter crash that stresses corals.
Q: Do you need RODI water for a 20-gallon reef tank, or can you use tap water?
RODI (reverse osmosis/deionization) water is essential for reef tanks of any size — tap water contains chlorine, chloramine, phosphates, and silicates that fuel algae blooms and damage coral tissue over time. For a 20-gallon tank, buying RODI water from a local fish store at $0.25–$0.50 per gallon is a practical and affordable option at startup. A home RODI unit (typically $150–$250) becomes cost-effective once your tank is established and your water demand increases.
Q: What are the easiest corals to start with in a 20-gallon reef tank?
Zoanthids and mushroom corals (Discosoma and Rhodactis species) are the most beginner-friendly corals for a 20-gallon setup because they tolerate moderate lighting, accept a wider range of water parameters, and recover more readily from parameter swings than LPS or SPS corals. Kenya Tree corals are another forgiving choice — fast-growing, hardy, and available at most local fish stores. Avoid Acropora and other SPS corals until your tank has maintained stable parameters for at least 12 months.
Q: How often should you do water changes on a 20-gallon reef tank?
During the first three months, plan for 10–15% water changes weekly — roughly 2 to 3 gallons per week for a 20-gallon system. Weekly changes dilute nitrates, replenish depleted trace elements, and give you a reliable way to correct salinity drift before it compounds. Building this into a structured reef tank maintenance schedule from the start makes consistency far easier to sustain. Once parameters are consistently stable and your nutrient export is dialed in, you can extend to bi-weekly changes, but not before the tank has proven its stability.
Q: What salinity should a 20-gallon reef tank be kept at?
Maintain a specific gravity of 1.025–1.026 (equivalent to 33–35 ppt salinity) for a mixed reef tank with corals. This matches natural ocean salinity and supports the physiological needs of both coral and fish. A calibrated refractometer or a reliable salinity probe is essential — cheap swing-arm hydrometers are notoriously inaccurate and should not be used when keeping corals.