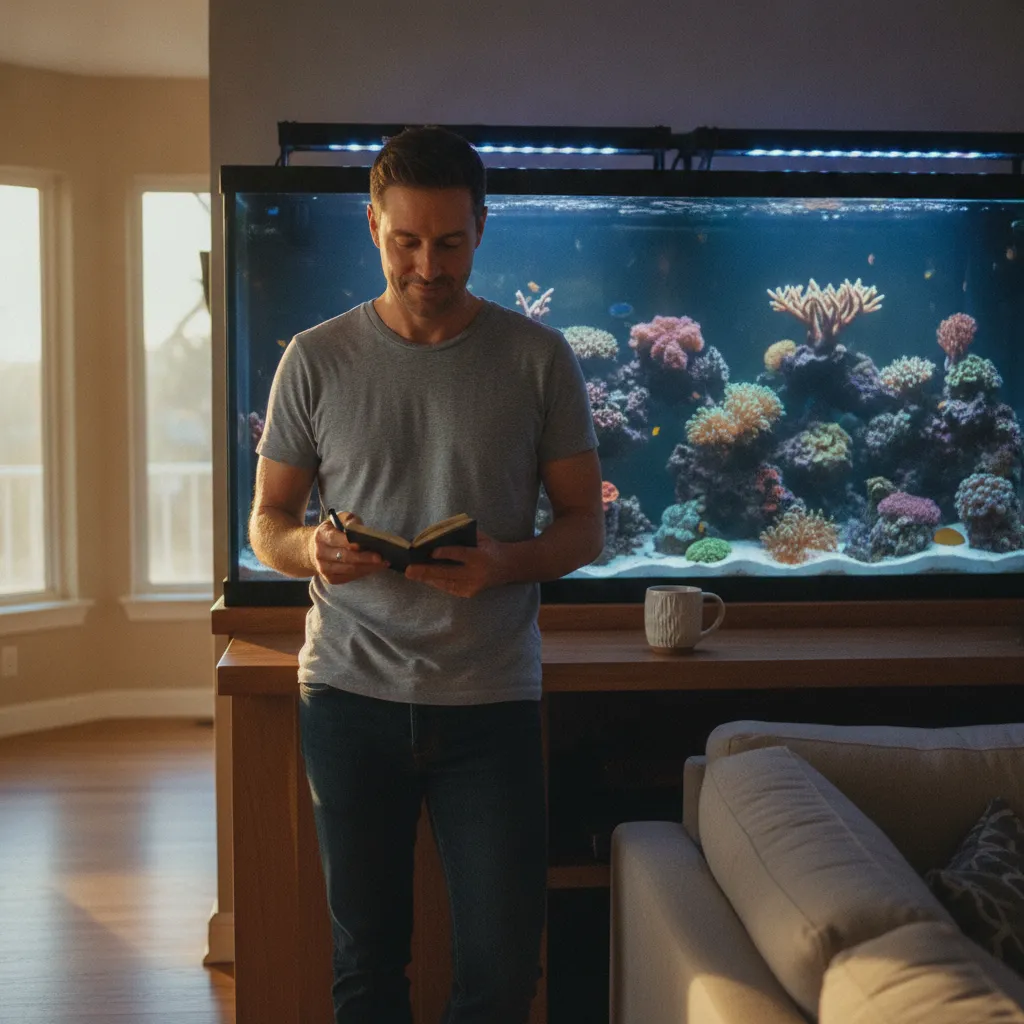
Best Beginner Reef Tank Equipment for a Spring Setup
> TL;DR: The best beginner reef tank equipment for a spring setup prioritizes water volume, reliable filtration, and accurate testing — not the most expensive gear on the market. Spring’s stable ambient temperatures (typically 65–75°F in most U.S. homes) reduce heater stress and give new tanks a smoother nitrogen cycle than any other season. A 40–55 gallon all-in-one system with a quality protein skimmer, LED lighting, and a full test kit suite is the proven foundation most successful first-year reefers build on.
Setting up your first reef tank feels exciting — until you open a forum thread and find 47 conflicting opinions on skimmers. The best beginner reef tank equipment for a spring setup isn’t the most expensive gear or the most advanced. It’s the right gear, in the right order, for a tank that actually survives its first year.
This guide cuts through the noise. You’ll finish with a clear shopping list, a realistic budget, and a week-by-week plan to get your reef running.
Why Spring Is the Best Time to Start Your First Reef Tank
Spring gives you a natural advantage most new reefers don’t realize they have: stable ambient room temperatures.
Reef tanks are sensitive to temperature swings. During winter, cold drafts and heater fluctuations stress livestock. During summer, overheating is a real risk. Spring’s moderate temps — typically 65–75°F in most U.S. homes — mean your heater works less, fluctuations stay small, and your tank cycles more smoothly.
Longer days matter too. The motivation to check on a new tank, top off evaporated water, and stay engaged is higher when you’re not arriving home in the dark. Beginners who start in spring tend to stay consistent through the critical first six weeks — exactly when impatience kills most new reef tanks.
Spring is also when retailers discount starter kits to move winter inventory. Brands like Coralife, Aqueon, and Innovative Marine often run promotions between March and May. According to Statista’s consumer and hobby market research, the home aquarium hobby has grown steadily over the past decade, and spring represents the peak retail buying window for new entrants. Budget-conscious setups benefit from this timing more than any other season.
Start now. The conditions won’t be this favorable again until next year.
What Equipment Do You Actually Need for a Beginner Reef Tank?
Every beginner needs six categories of equipment before adding a single coral or fish: a tank, a stand, filtration, flow, lighting, and a water testing kit. Everything else — auto top-off units, calcium reactors, dosing pumps — comes later.
Tank & Stand: Choosing the Right Size to Start
Start with a tank between 40 and 75 gallons. This is the single most important decision you’ll make.
Smaller tanks look cheaper upfront, but water chemistry swings faster in low volumes. A 20-gallon tank can crash from one missed water change. A 40–75 gallon tank gives you a buffer — more water volume means more time to catch a problem before it kills your livestock.
All-in-one (AIO) systems like the Innovative Marine Nuvo or the Red Sea MAX series are worth considering. They include filtration chambers built into the back of the tank, which simplifies plumbing for beginners. Budget approximately $200–400 for a quality AIO setup in this size range.
Your stand needs to hold roughly 10 pounds per gallon of water weight — plus rock, sand, and equipment. Use a purpose-built aquarium stand. Improvised furniture has failed under full reef tanks more times than the hobby cares to admit.
Filtration & Flow: Skimmers, Sumps, and Powerheads Explained Simply
A protein skimmer removes organic waste before it breaks down into ammonia. For a beginner tank, this is non-negotiable — and one of the highest-impact purchases you’ll make.
Don’t skip the skimmer to save money. Aquarium skimmers rated for your tank size (look for brands like Reef Octopus, Bubble Magus, or Aqua Remora) run $80–200 for beginner-appropriate models. A skimmer rated slightly above your tank volume gives you a margin of safety.
You don’t need a sump to start. Sumps are beneficial, but they add plumbing complexity. Start with a quality hang-on-back (HOB) skimmer and revisit sumps once you understand your system.
Powerheads create water movement — critical because corals feed from water flow, not just from feeding. Two powerheads placed at opposite ends of the tank, angled slightly toward each other, create the chaotic flow pattern reef animals need. Brands like Tunze, Hydor, and Jebao make beginner-friendly models in the $30–100 range.
Lighting: What Beginners Need (and What to Ignore for Now)
Good reef lighting doesn’t have to cost $800.
For a beginner tank with soft corals and easy large polyp stony (LPS) corals, a quality LED fixture in the $150–300 range is sufficient. Look at AI Prime HD, the Kessil A160, or Aqua Illumination’s entry-level units. These provide the spectrum reef animals need without overwhelming complexity.
Ignore T5 fluorescent fixtures and metal halide systems for now. They run hot, consume more electricity, and add heat management problems you don’t need in your first year.
Set your lights on a timer. Twelve hours on, twelve hours off is a reliable starting point. Consistency matters more than intensity for a new tank.
How Do You Avoid the Most Common Beginner Equipment Mistakes?
The most expensive mistakes in a beginner reef setup aren’t caused by bad luck. They’re caused by a few predictable decisions that experienced reefers have made before you — and warn against clearly.
The ‘Too Small Tank’ Trap and Why Bigger Is More Forgiving
Consider a typical beginner who starts with a 10-gallon nano tank to “keep costs low.” Within three weeks, an ammonia spike from one overfeeding event wipes out their first fish. They restart in a 55-gallon tank and never look back.
This scenario plays out constantly in the hobby. Small tanks feel manageable until they aren’t. The chemistry in a 10-gallon tank can shift from safe to lethal within hours. A 40–55 gallon system gives you days, not hours, to detect and correct a problem.
Bigger tanks also cost less per gallon to stock with live rock and sand. The incremental cost difference between a 20-gallon and a 40-gallon setup is smaller than most beginners expect.
Skipping Water Testing Equipment — The Mistake That Kills New Tanks
You cannot keep a reef tank alive without testing your water. This is not optional.
At minimum, you need tests for: ammonia, nitrite, nitrate, pH, salinity, and alkalinity. API’s Saltwater Master Test Kit covers the basics. Add a refractometer for accurate salinity readings — the cheap plastic hydrometers drift over time and give false readings.
A single ammonia spike you don’t catch will end your tank’s cycle before it completes. Test twice a week during the first six weeks, minimum. Log your results in a notebook or a simple spreadsheet. Patterns matter more than individual readings.
Budgeting Your Spring Reef Setup: Where to Spend and Where to Save
A reef tank doesn’t require a bottomless budget. It requires smart allocation. The table below maps three realistic starter budgets to the key equipment categories. For broader context on how hobbyists allocate discretionary spending across categories like this, the Bureau of Labor Statistics Consumer Expenditure data offers useful benchmarks on how U.S. households prioritize hobby and home equipment purchases.
| Equipment Category | Entry (~$300–500) | Mid-Range (~$700–1,200) | Enthusiast Starter (~$1,500+) |
|---|---|---|---|
| Tank & Stand | Used AIO 20–30 gal | New AIO 40–55 gal | New AIO 65–75 gal |
| Lighting | Budget LED ($80–120) | AI Prime / Kessil A160 | AI Hydra / Kessil A360 |
| Skimmer | HOB entry ($60–80) | Reef Octopus / Bubble Magus | Reef Octopus Elite |
| Flow (Powerheads) | 1x Hydor Koralia | 2x Jebao / Tunze | 2x Tunze or MP10 |
| Test Kits | API Master Kit | API + Salifert Alk | Salifert full suite |
| Rock & Sand | Dry rock + play sand | Dry rock + aragonite | Premium dry/live rock |
| Heater | Single Aqueon ($20–30) | Cobalt Aquatics | Titanium dual-probe |
Where to Spend More: Equipment That Directly Impacts Tank Health
Three categories justify higher spending: lighting, your skimmer, and your test kits.
Lighting directly controls coral growth and health. A cheap LED that can’t reach the proper spectrum forces you to upgrade in six months anyway — spending twice in the process. Buy the right fixture once.
Your skimmer is your tank’s first line of defense against organic waste. An undersized or poorly built skimmer creates nutrient problems that cascade into algae outbreaks, coral bleaching, and fish disease. Spend $100–180 here and don’t compromise.
Quality test kits give you accurate data. Salifert kits are the community standard for a reason — they’re precise. Inaccurate test results from cheap kits have sent beginners chasing problems that didn’t exist, or missing ones that did.
Where You Can Save Without Sacrificing Success
Dry rock is a legitimate money-saver. Live rock is expensive, carries pests, and isn’t necessary for a successful cycle. Quality dry rock from brands like Real Reef or CaribSea works perfectly. Seed it with a small amount of live rock from a trusted local fish store (LFS) or a bottled bacteria product like Fritz TurboStart.
Used equipment from local reefers is often high quality and well-maintained. Tanks, stands, and powerheads in particular hold up well secondhand. Check Facebook Marketplace, local reef club forums, and Craigslist. Always inspect for cracks and test electrical components before buying.
Skip the UV sterilizer, auto top-off unit, and dosing pump for now. These are genuinely useful — later. Adding complexity to a system you’re still learning to read creates confusion, not safety.
What Should You Set Up First? A Simple Spring Timeline for New Reefers
Sequence matters as much as equipment. Follow this week-by-week plan.
Week 1 — Tank and Stand Assembly Place your tank on its stand in its permanent location before filling it. Moving a filled tank is not realistic. Level the stand carefully — an unlevel tank puts uneven stress on the glass seams over time. Rinse your dry rock and aragonite sand with RODI (reverse osmosis/deionized) water. Tap water introduces phosphates and silicates that cause algae problems from day one.
Week 2 — Saltwater, Equipment, and Live Rock Mix your saltwater to 1.025–1.026 specific gravity using a quality reef salt mix (Red Sea Coral Pro and Instant Ocean are reliable starting choices). Fill the tank. Install your heater, powerheads, skimmer, and lights. Add your rock and sand. Turn everything on. This is the moment the nitrogen cycle begins.
Weeks 3–6 — The Nitrogen Cycle This is the hardest part of reef keeping — not because it’s complicated, but because it requires patience. Ammonia spikes first, then nitrite rises as beneficial bacteria colonize your rock and equipment. Then nitrate rises, and ammonia and nitrite drop to zero. When you read zero ammonia and zero nitrite consistently over 3–4 days, your tank has cycled.
Test every 2–3 days during this period. Do not add livestock during the cycle. The impulse to add “just one fish” during week four is one of the most common beginner mistakes — and one of the most damaging.
Week 6+ — First Hardy Livestock Start with one or two hardy, reef-safe fish. A pair of ocellaris clownfish is the classic beginner choice — they’re hardy, widely available, and captive-bred options are easy to find. Add one fish, watch it for two weeks, then consider adding another. Don’t rush stocking. The nitrogen cycle established your tank’s biological capacity — overstocking immediately overwhelms it.
Once your tank is stable and stocked, your focus shifts from setup to consistency. Following a structured reef tank maintenance schedule is one of the highest-leverage habits you can build to protect everything you’ve invested in getting here.
Building Confidence as a New Reefer: You Don’t Have to Figure This Out Alone
Every experienced reefer has killed something. Every single one. The difference between those who quit and those who build thriving reef tanks isn’t natural talent — it’s having somewhere to turn when things go sideways.
And things will go sideways.
A coral will bleach for no obvious reason. Your ammonia test will read higher than expected in week five. Your powerhead will stop working overnight. These aren’t signs you’re doing it wrong — they’re the normal friction of learning a complex, living system.
The reefers who succeed fastest are those who ask questions early, before a small problem becomes a tank crash. They find communities where experienced hobbyists answer beginner questions without condescension. They read before they buy. They test before they panic.
Equip yourself with knowledge the same way you equip your tank — deliberately, in the right order, from trusted sources.
Frequently Asked Questions
Q: Why is spring a better time to start a reef tank than summer or winter?
Spring offers the most stable ambient room temperatures — typically 65–75°F in most U.S. homes — which reduces heater strain and minimizes temperature swings that stress new livestock. Retailers also tend to discount starter kits between March and May to clear winter inventory, making equipment more affordable. Longer daylight hours also tend to keep new hobbyists more engaged during the critical first six weeks of the nitrogen cycle.
Q: What tank size is best for a beginner reef setup?
A 40–55 gallon tank is the recommended starting size for most beginner reefers. Larger water volume means chemistry parameters change more slowly, giving you more time to detect and correct problems before they harm livestock. Tanks under 30 gallons are significantly less forgiving — a single overfeeding event or missed water change can shift chemistry from safe to dangerous within hours.
Q: How long does the nitrogen cycle take in a new reef tank?
A new reef tank typically takes 4–8 weeks to fully cycle. During this period, ammonia spikes first, followed by nitrite as beneficial bacteria colonize live rock and equipment, then nitrate rises while ammonia and nitrite drop toward zero. The cycle is complete when you read zero ammonia and zero nitrite on consecutive tests over 3–4 days — only then is it safe to add fish or coral.
Q: Do beginner reef tanks need a protein skimmer?
Yes — a protein skimmer is one of the highest-impact purchases a beginner reefer can make. Skimmers remove dissolved organic compounds before they break down into ammonia, preventing the nutrient buildup that leads to algae outbreaks and poor water quality. For a 40–75 gallon beginner tank, a hang-on-back skimmer rated for your tank size is sufficient and typically costs $80–200.
Q: What water parameters should beginners test for in a reef tank?
At a minimum, beginners should test for ammonia, nitrite, nitrate, pH, salinity, and alkalinity. The API Saltwater Master Test Kit covers the basic parameters, while Salifert alkalinity tests provide more precision for tracking coral health. Use a refractometer rather than a plastic swing-arm hydrometer for salinity — hydrometers drift over time and produce inaccurate readings.
Q: Can you use tap water to mix saltwater for a reef tank?
No — tap water contains chlorine, chloramines, phosphates, and silicates that harm reef animals and directly fuel nuisance algae growth. All saltwater mixing and evaporation top-off should use RODI (reverse osmosis/deionized) water. RODI units are available for $80–150, or pre-made RODI water can be purchased from a local fish store for approximately $0.50–1.00 per gallon while you get started.
Q: What are the first fish a beginner should add to a new reef tank?
Ocellaris clownfish are the most recommended first fish for beginner reef tanks — they’re hardy, widely available, and captive-bred options are easy to source. Add one fish at a time and observe for two full weeks before introducing another, so your biological filtration has time to adjust to the new bioload. Avoid adding multiple fish simultaneously after cycling, as overstocking immediately overwhelms the bacterial colonies your cycle just established.